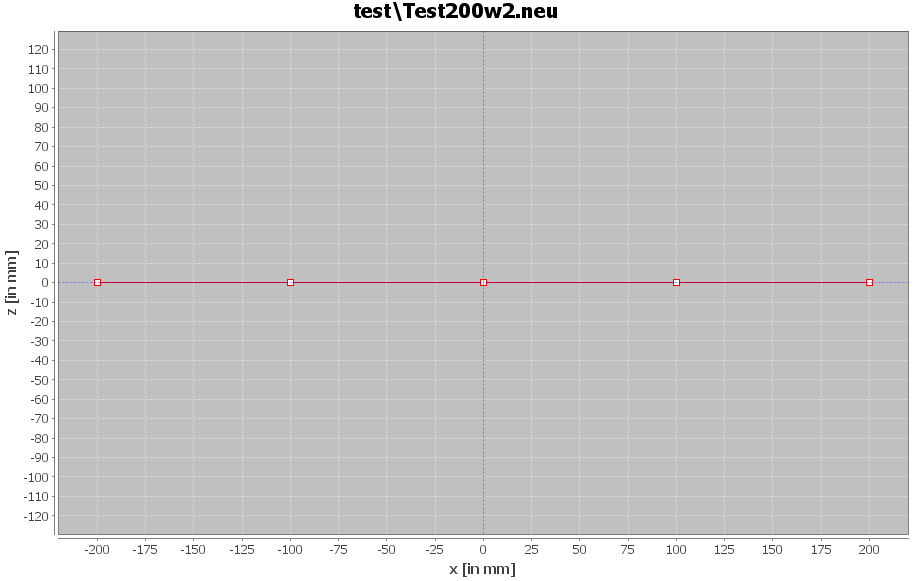
| 1. Test200w2, Test250w2 | 2. TestHor200Ver50, TestHor200Ver100 |
 |
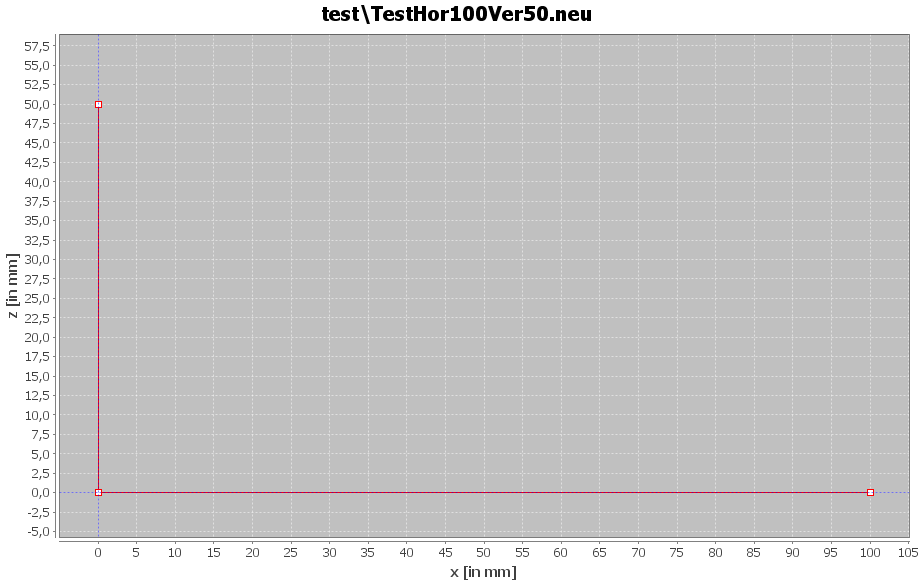 |
| The wire stops at the red points. On scale paper you can check your accuracy. | The same but vertically. |
3.TestRectangle240x60
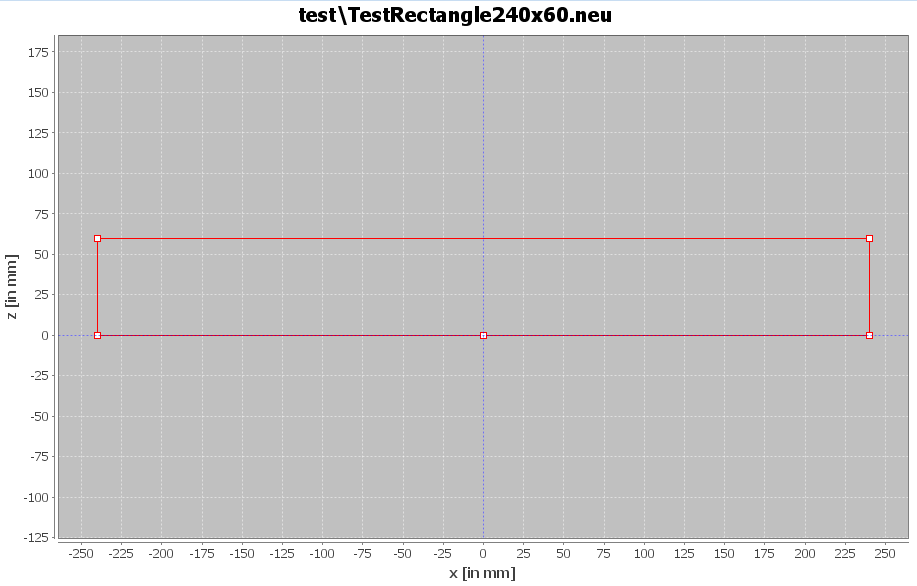
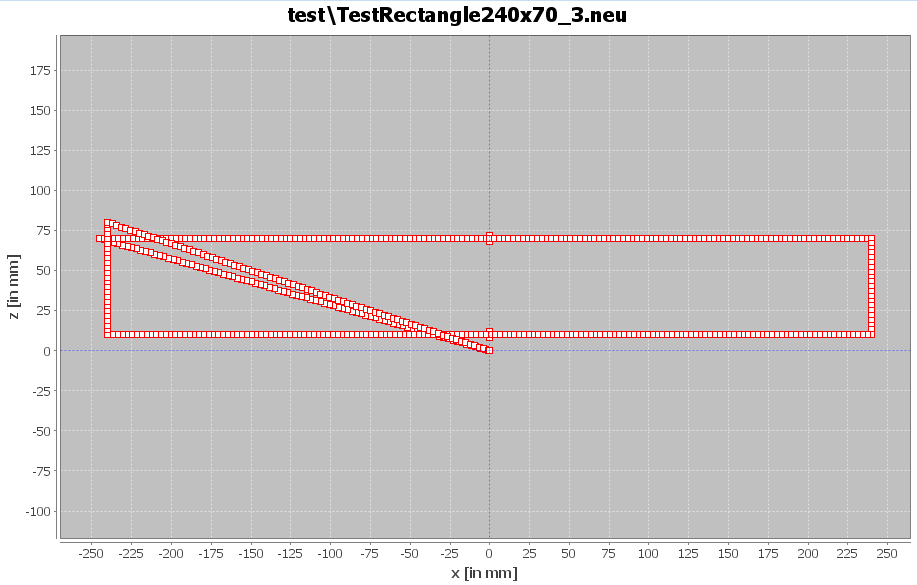
| 1. TestRectangle240x70_3 | 2. TestAccuracyshort15, TestAccuracy15 |
 |
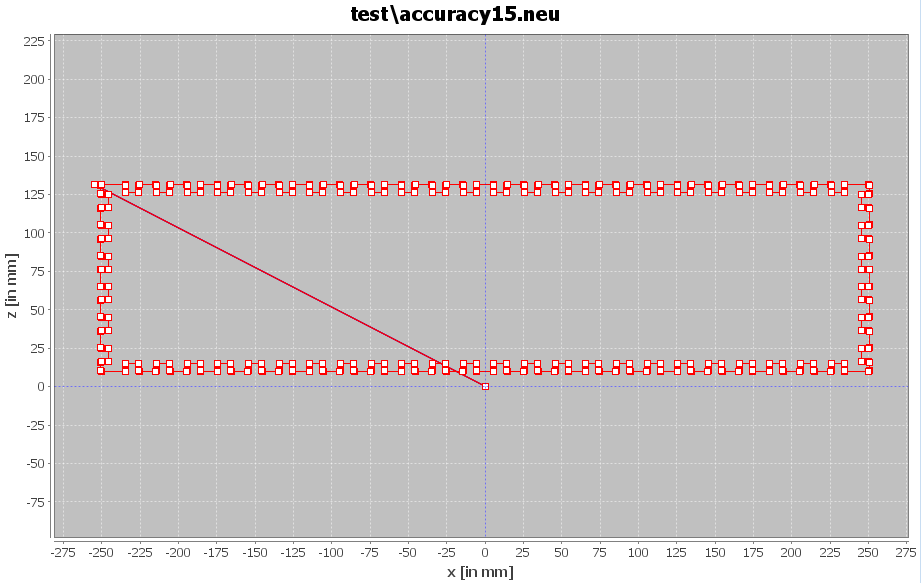 |
| Here you can check the behaviour over large distances. | This is a hard test for your device especially version "TestAccuracy15". |
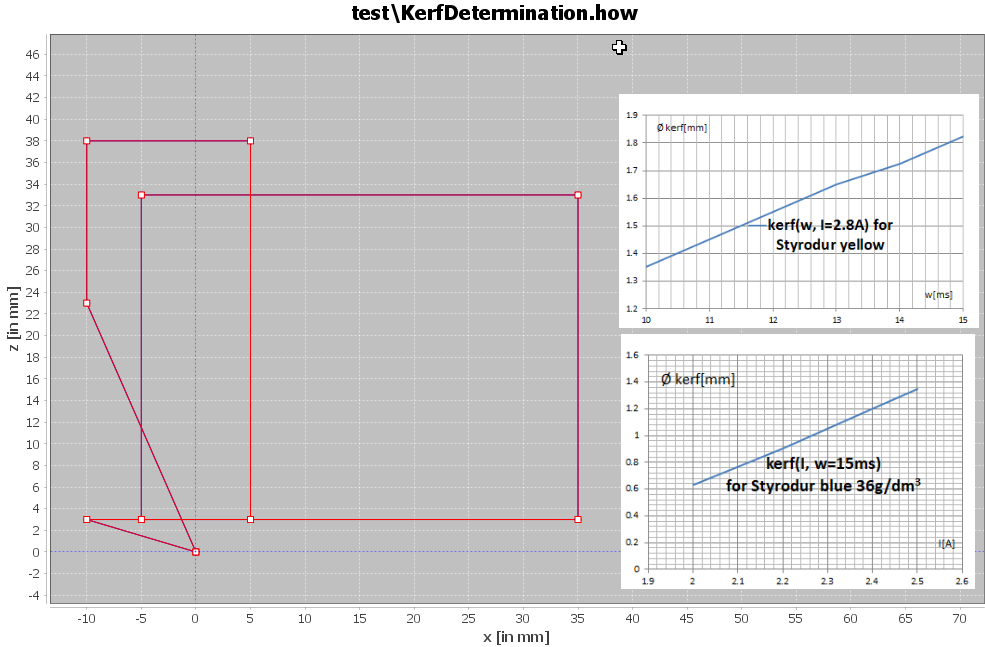
| 3. Determination of the kerf parameter | 4. TestCutVerticalPlane |
 |
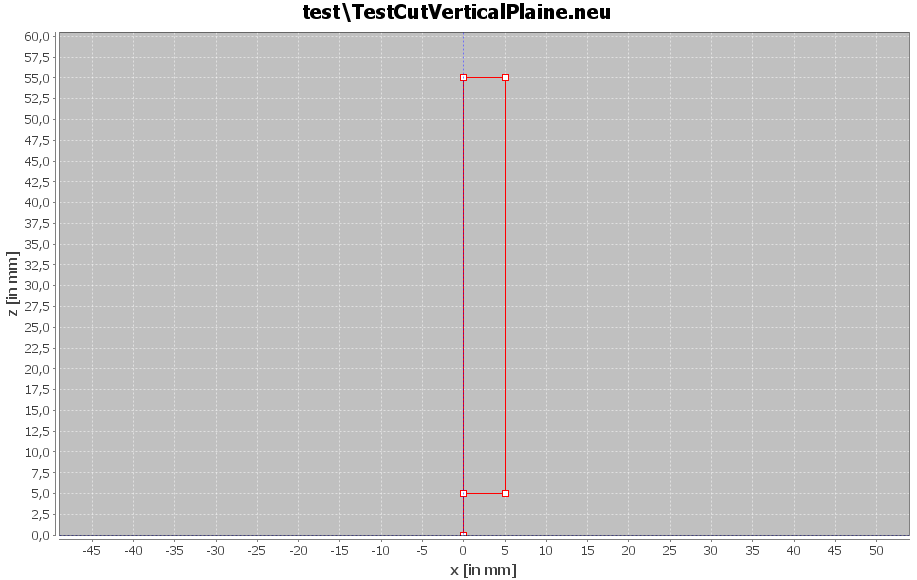 |
| Here you can find out the right temperature of the wire. As long as you get round corners you have to increase the current. The size of the square will give you the diameter of the virtual milling cutter. | This is a good test for the cutting temperature if you intend to cut thicker material. |